HOW TO REPLACE CONNECTORS:
PATCH HARNESSES -
In the Below article, we go through a step by step guide on replacing worn, broken or damaged Pull to Seat connectors. This information applies to all Patch Harnesses which can be purchased from our shop HERE
- Before you begin, ensure the new connector is the correct part. Inspect them side by side and if necessary, insert the new connector in the intended sensor. The below guide shows a 3 pin connector, however the advice is relevant for all patch harness connectors.

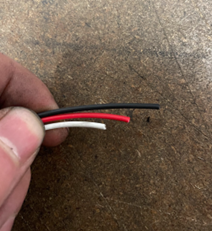
Place the new connector and patch harness next to the branch being replaced, ensure the new patch harness is long enough to replace all the damaged wiring. Trim the ends of the wiring pigtails on the patch harness so they are roughly 10-20mm apart, as per the image above. The reason for this is by staggering the crimps, the risk of any accidental rub throughs or short circuits are minimized. This also means there are no large clumps of crimps in the harness which can be unsightly.
- Match up the patch harness to the branch being replaced and cut the branch at matched staggered intervals (10-20mm) like the patch harness.

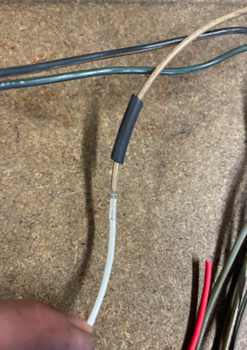
- Starting at one end of the connector being replaced, cut and strip roughly 5-8mm of insulation from the wiring on both the replacement branch and the matching wire on the patch lead. Add some heat shrink and then place these inside the supplied splice crimp as per below.

- Using the correct die on your open barrel crimp tool, firmly crimp the splice until the result looks like image 4. Lightly tug on each side of the crimp to ensure the splice is holding correctly.

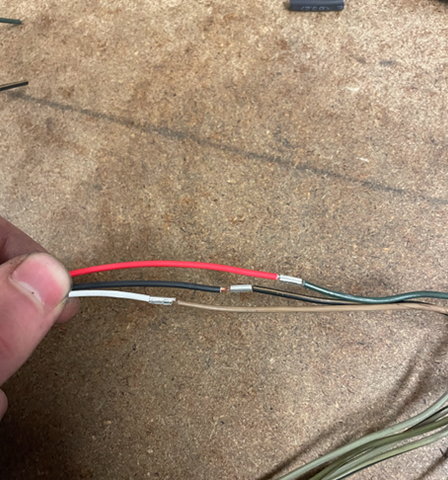
- Repeat steps 3 & 4 for the remaining wires until the connector is completely replaced. The resulting crimps should look something like in image 5.

- Slide the heat shrink over the exposed splice crimps and shrink it down. Add some abrasion protection over the wires (Plastic conduit, tape etc) and that’s job done.
Use left/right arrows to navigate the slideshow or swipe left/right if using a mobile device


